Edit Return Templates
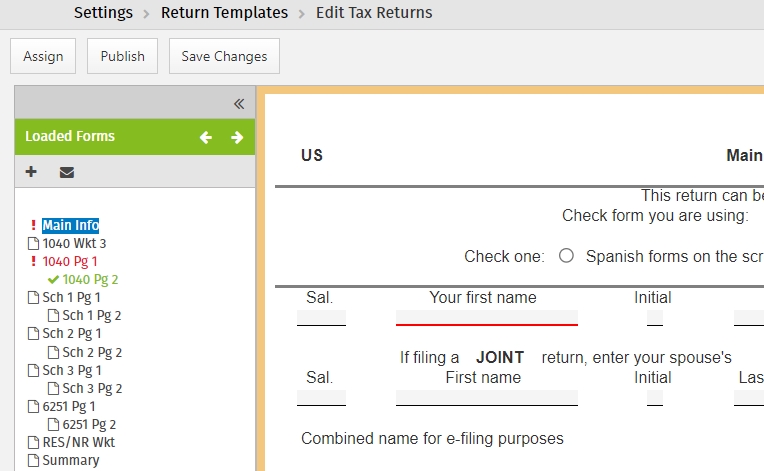
In the return template, you can open any form and enter information that you want to appear in all new returns. Open and close forms just as you would in a regular tax return.
What type of information should be in a Return Template?
You should fill out the Price Sheet. On the Price Sheet, enter the price you charge for each form in the package. TaxWise Online then calculates the tax preparation fee automatically for each return based on the forms used in the return. If you charge by the hour, enter your price per hour. Within each return, you enter the chargeable time and TaxWise Online calculates the fee.
Depending on what is appropriate for your business, you may also want to:
- Main Information Sheet, which allows you to:
- Exclude or include income from Puerto Rico, depending on your location.
- Select the check box for no state return or enter a two letter state abbreviation in the resident state box.
- Define your type of return, such as Bank Products, e-File ONLY, or Paper.
- Select bank, if applicable.
- Enter preparer’s PIN information.
- Change third party designee selection.
- Enter your Paid Preparer information.
- If you are offering bank products, you should enter the SFS technology fee and Service Bureau fee on the application form for your bank. You must match the fee amounts that are on your ERO Bank Application. To load the bank forms, select the Type of Return on Main Info as Bank Products and select your bank.
- Form 8879, which allows you to enter your EFIN and your ERO or preparer information.
Press Ctrl+Spacebar to make an entry required.
To edit return templates, use the following
steps:
- Log in as the Admin or a user with the Administrator role or TemplateManager role.
- Click your name on the top right of the screen and select Settings.
- Click Return Templates.
- Click the Edit button
 on the row you want to edit.

The light orange background indicates that you are in Return Templates mode and any changes made to this template will only affect new returns.
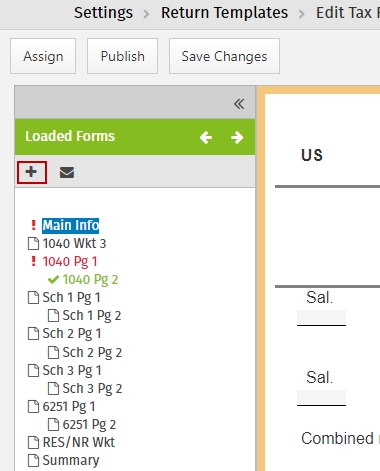
- Click Add a Form above the loaded forms to load any additional forms.

- Click the Add button
 on the Add a Form dialog to select the appropriate form.
Some forms, such as Form W-2 require users to press F3 on a direct entry (black underline) field so that the form stays in the template.
The Preparer Use form cannot be added in templates. It is added when you enter Custom Fields in General Settings.
- After adding the forms needed in your template, click Save Changes or Save and Close.
See Also:
Create Return Templates
Assign Return Template(s) to user(s)
Publish Return Templates
Lock and unlock Return Template fields
 on the row you want to edit.
 on the row you want to edit.

 on the Add a Form dialog to select the appropriate form.